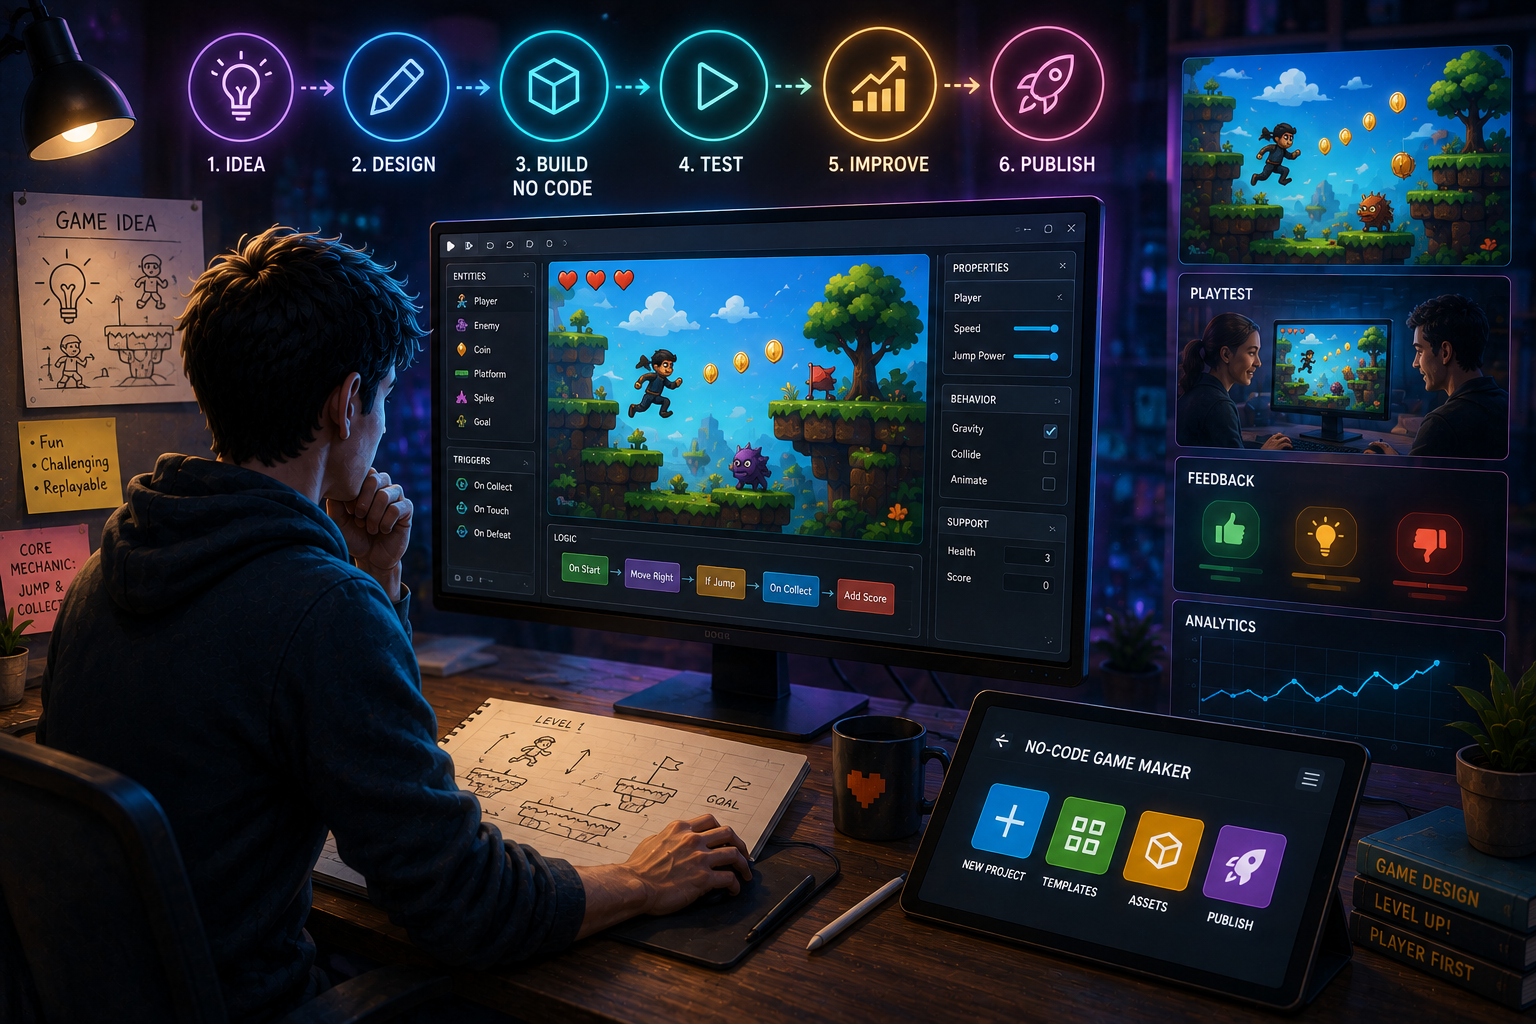
Building a game without writing code sounds simple in theory, but doing it well still requires a clear process. Skipping code doesn’t mean skipping structure, the creators who get the best results from a no-code game maker are the ones who approach it methodically, not the ones who just start generating and hope something good comes out. Here’s exactly how to do it right.
Understanding What a No-Code Game Maker Actually Does
It Translates Description Into Mechanics
A no-code game maker takes what you describe, the core action, the goal, the rules, and converts that description into working game logic behind the scenes. You never touch the underlying implementation, but every meaningful decision about how the game works still comes from you.
It Doesn’t Replace Design Thinking
The tool handles execution, not judgment. Whether a mechanic feels fair, satisfying, or well-paced remains entirely something you have to evaluate through actual play, the same as it always has in any form of game development.
Preparing Before You Start Building
Define Your Core Action Clearly
Every game comes down to one repeated action the player performs. Before opening any tool, be able to describe that action in a single, specific sentence. A game like Chameleon Hunter works because its core action, stalking and timing a precise strike, is immediately clear and immediately understandable. That same clarity should exist in your own idea before you generate anything.
Know Why the Mechanic Would Feel Good
Beyond describing what the player does, understand the specific tension or satisfaction the mechanic creates. Is it timing? Risk versus reward? Precision under pressure? This understanding shapes how you’ll evaluate your first generated version.
Choose a Scope You Can Actually Finish
First projects fail more often from being too ambitious than too simple. Commit to one mechanic and make that single thing feel genuinely good before considering anything else.
Step-by-Step: Building Your Game
Step 1: Describe Your Concept in Plain Language
Explain your core mechanic the way you’d explain it to a friend, what the player does, the objective, and what happens on success or failure. No-code game maker platforms take that description and turn it into a working prototype, without requiring any code from you at any point.
Step 2: Generate a Rough First Version
Don’t aim for polish here. The goal is simply to get something playable you can honestly react to, not something that already looks finished.
Step 3: Play It Before Making Any Changes
Experience the rough version exactly as generated. This step reveals what’s genuinely working, information that guessing or planning on paper can’t replace.
Step 4: Compare Expectation Against Reality
Note where the generated version matched what you imagined, and where it diverged. This gap is where real design thinking begins, sometimes it reveals a problem, sometimes a better direction than you originally planned.
Step 5: Adjust One Element at a Time
Change a single variable, difficulty, pacing, a specific rule, and test the result before touching anything else. This isolates what’s actually improving the game from what’s just different.
Step 6: Bring in Outside Feedback
Get someone unfamiliar with the project to try it, ideally within the first week. Watch where they hesitate, where they lose interest, and where they genuinely engage.
Step 7: Polish Once the Core Feels Right
Once your central mechanic is confirmed satisfying, shift attention to feel: tightening controls, refining feedback, smoothing pacing. This is where a decent prototype becomes something people actually want to keep playing.
What Makes This Process Work Well
Fast Feedback Prevents Wasted Effort
Because you find out early whether your idea works, you avoid the expensive mistake of building extensively around a mechanic that ultimately isn’t fun.
Cheap Iteration Encourages Genuine Comparison
Since generating a new version costs relatively little time, you can test multiple approaches before settling on one, producing stronger final decisions than committing to the first workable idea out of necessity.
The Creative Judgment Still Comes From You
The tool executes what you describe. It has no opinion on whether the result is fun, fair, or well-paced. That judgment remains entirely your responsibility throughout the process.
Common Mistakes to Avoid
Overdescribing Your Idea Upfront
Long, detailed descriptions covering every feature you can imagine tend to produce a less focused first version than a short, specific one.
Treating the First Version as Finished
A generated first version is a draft. Publishing it without refinement usually means sharing something rougher than it needed to be.
Skipping Real Playtesting
Fast generation doesn’t replace the need for honest, external feedback. Real players notice things internal judgment consistently misses.
Adding Complexity Before the Basics Work
Once building feels fast and easy, the temptation to keep adding grows. Resist it until your core mechanic is confirmed fun on its own.
A Quick Reference Checklist
- Define your core action in one clear sentence.
- Describe it in plain language and generate a rough version.
- Play it immediately, without adjusting first.
- Change one element at a time and retest after each change.
- Get outside feedback within the first week.
- Polish feel and timing once the core loop holds up.
- Set a finish line and ship it.
Final Thoughts
Building a game with a no-code game maker follows the same fundamental process good game development always has, define a clear idea, test it honestly, refine based on real feedback. What’s changed is that none of this requires learning to code first, and the distance between an idea and a playable version has shrunk from months to a single sitting.
Start small, stay honest about what’s actually working, and let real play guide every decision from there. That approach, more than any specific tool, is what determines whether your game turns out genuinely good.