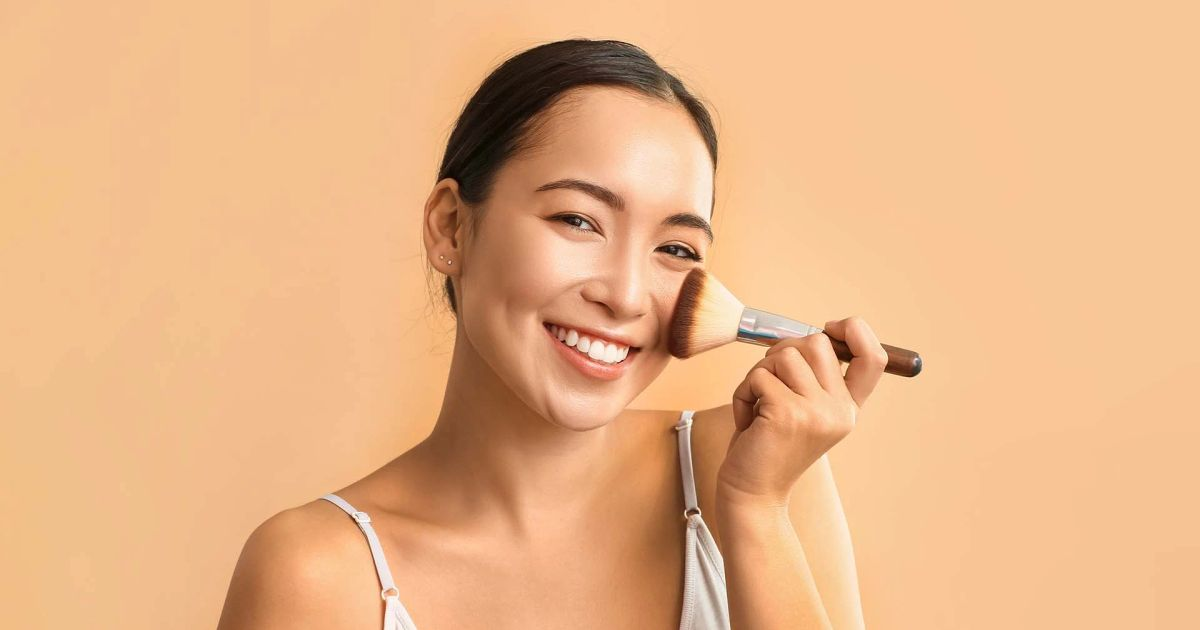
Navigating the world of beauty can seem overwhelming, but creating an effortless everyday makeup routine doesn’t have to be a daunting task. Whether you’re getting ready for work or just heading out for errands, having a go-to routine can make all the difference. And if you’re looking to refresh your makeup collection without breaking the bank, check out these IL Makiage discount codes for some fantastic savings on high-quality products.
Finding the Right Products
The “effortless” part of an everyday routine is really just this: fewer products, better matches. If your base looks like skin and your concealer disappears into it, everything else can stay minimal.
Foundation and Base
Go light first. For everyday wear, a lightweight foundation, skin tint, or tinted moisturizer usually wins. It evens things out without that obvious “makeup layer” feeling.
Pick a finish that matches your real life:
- Dry skin: dewy or hydrating formulas (they won’t cling to texture).
- Oily skin: soft-matte or natural-matte (less midday shine panic).
- Combo skin: natural/satin finishes (the safest all-rounder).
Shade matching, without the drama:
- Test on your jawline, not your hand. Your face and hand are rarely the same shade.
- Check it in natural light (step near a window). Store lighting lies.
- Match your undertone:
- Warm = yellow/golden
- Cool = pink/rosy
- Neutral = a bit of both
If you’re not sure, neutral is usually the least risky. - When between shades, go slightly lighter and warm it up with bronzer later. Too dark is harder to fix fast.
Quick application that still looks clean:
- Use fingertips for tinted moisturizer (fast, melts in).
- Use a damp sponge for the most natural blend.
- Use a brush if you want more coverage in less time—then soften edges with a sponge if needed.
Concealer
Concealer is your “I slept” product. The trick is using less than you think and placing it where it matters.
Under-eye circles:
- Choose a concealer that’s a half-shade to one shade lighter than your base (not three shades—this is how you get the grey, bright under-eye flashback).
- If you have blue/purple darkness, a peachy corrector under concealer helps—especially on deeper skin tones where discoloration can be stronger.
- Place product on the inner corner and outer corner (where shadows tend to sit), not in a thick stripe all the way across.
Blemishes and redness:
- Match your concealer to your foundation shade, not lighter. Lighter concealer can make breakouts look raised.
- Tap it on, let it sit for 10–20 seconds, then gently tap to blend (this helps coverage stay put).
Blend like you mean it:
- Use small tapping motions, not rubbing—rubbing lifts coverage and texture.
- Set only where needed: a tiny bit of powder under the eyes or on active blemishes if you crease or get shiny.
Nail these two steps—base + concealer—and you can honestly skip a lot of extra makeup and still look put together.
Eye Makeup Basics
Eye makeup for everyday is less about “doing a look” and more about looking awake. Two moves handle most of it: mascara + brows.
Mascara
Mascara is the fastest payoff product in your bag. It frames your eyes, adds definition, and makes you look instantly more pulled together—even if you’re wearing almost nothing else.
How to apply without clumps (or drama):
- Wipe the wand. Don’t pump the tube (it dries it out). Instead, wipe excess mascara on the rim or a tissue so you’re not depositing a glob.
- Root to tip, small wiggle. Place the wand at the base of your lashes, wiggle slightly, then sweep up. This builds volume at the roots and keeps tips separated.
- One coat for “natural,” two for “polished.” Let the first coat set for 10–20 seconds before the second. Going in too fast is how clumps happen.
- Use waterproof strategically. Waterproof holds curl and survives humidity/teary eyes, but it can be harder to remove. If you hate scrubbing, try a “tubing” mascara or use waterproof only on the top lashes.
- Clean-up trick: If you get mascara on your lid, wait until it dries, then flick it off with a clean spoolie or cotton swab. Wet smears are the enemy.
Brow Enhancing
Brows are the quiet MVP. Even a tiny bit of grooming and fill makes your whole face look more intentional.
Keep it simple:
- Brush first. Use a spoolie to brush brows up and out. You’ll instantly see where you actually need product (often: not much).
- Fill the gaps, not the whole brow. Light strokes mimic hair. Focus on sparse areas and the tail. Leave the front softer so it doesn’t look blocky.
- Choose beginner-friendly products:
- Tinted brow gel: fastest, most forgiving; adds color + hold in one step.
- Micro-pencil: great for precision; pick a shade slightly lighter than your hair if you’re heavy-handed.
- Clear gel: perfect if your brows are already full—just shape and set.
Quick shape rule (no measuring tools required):
- Start: line up with the side of your nostril.
- Arch: roughly above the outer edge of your iris.
- Tail: angled from nostril to the outer corner of your eye.
If you do only one thing: brush them up and add a bit of gel. It’s low effort, high return.
Simple Cheeks
Blush and bronzer are the fastest way to look awake, healthy, and like you didn’t just roll out of bed. The trick is keeping it light—cheeks should look lifted, not like obvious makeup.
Blush and Bronzer
Choosing the right shades for your skin tone
- Fair skin: soft peach, light pink, or cool rosy tones. Bronzer should be light and a little neutral—avoid anything too orange.
- Light–medium skin: peachy rose, warm pink, or apricot. Bronzer can lean slightly warm, like “sun-kissed” not “tan-in-a-bottle.”
- Medium–deep skin: richer coral, berry, or terracotta. Bronzer should have warmth and depth (caramel, cinnamon, deep bronze).
- Deep skin: bold berry, brick, or vibrant rose shows up best. Bronzer should be deep and flattering—think espresso-bronze, not ash.
Powder vs. cream (keep it effortless)
- Cream blush/bronzer: easiest for a fresh, skin-like finish and quick finger blending.
- Powder blush/bronzer: great if you get oily or want extra longevity. Use a light hand and a fluffy brush.
Application tips: define without going overboard
- Bronzer goes where the sun hits: sweep a small amount along the outer perimeter of your face—temples, top of forehead, and lightly under cheekbones. Start at the hairline and blend inward so it fades naturally.
- Blush goes a little higher than you think: aim for the upper part of your cheeks, then blend up toward your temples. This lifts the face and keeps you out of “clown cheek” territory.
- Two-finger rule (easy placement): hold two fingers next to your nose—don’t put blush inside that space. Keep it on the outer cheek for a cleaner look.
- Less product, more blending: tap off your brush, or warm cream on the back of your hand first. Build slowly. You can always add; fixing too much is annoying.
- If you overdo it: blend the edges with a clean brush, sponge, or a touch of whatever base product you used (tinted moisturizer/foundation) to soften it instantly.
If you only do one thing: a tiny bit of bronzer to add shape + a quick blush sweep for life. Done.
Lip Care Essentials
Your lips are the easiest place to look “put together” with almost zero effort—and also the easiest place to look a little rough if they’re dry. So the goal here is simple: keep them smooth, keep them comfortable, add a hint of color.
Everyday Lip Colors
For daily wear, stick to shades that play nice with your natural lip tone:
- Nudes (pink-nude, peach-nude, caramel-nude): polished, low-drama, works with basically everything.
- Light pinks / rosy tones: makes you look awake without screaming “lipstick.”
- Soft mauves: a tiny bit more definition, still office-and-errands friendly.
If you’re unsure, pick a color that’s one shade deeper than your natural lips. It’ll look intentional but not like you tried too hard.
Lipstick + balm combo (hydration without sacrificing color)
This is the cheat code for “effortless”:
- Start with balm (thin layer, not slippery).
- Tap on lipstick with your finger instead of swiping. This sheers it out and makes it harder to mess up.
- Finish with a tiny touch of balm in the center if you want a healthy, hydrated look.
Quick fixes that help a lot:
- Keep a clear balm in your bag so you can reapply without a mirror.
- If your lips flake, do a gentle exfoliation 1–2x a week (soft washcloth works). Don’t go aggressive—your lips will punish you.
Bottom line: hydrated lips + a comfortable “my-lips-but-better” shade = the fastest way to look finished in under 30 seconds.
Streamlining Your Routine
The easiest way to make makeup feel “effortless” is to stop treating it like a 12-step project. Your goal: look awake, even, and put-together in under 10 minutes—without hauling a whole kit.
Lean on multitaskers (they’re the cheat code)
Multitasking products cut both time and decisions.
- Tinted moisturizer / skin tint + SPF: base + skincare in one. Apply with fingers. Done.
- Concealer that can pull double duty: under eyes and spot concealing. If it blends well, you don’t need two formulas.
- Cream blush that works on lips: one product, two areas, same tone = cohesive face with zero effort.
- Tinted brow gel: fills + holds brows in place. Looks polished even when you skip eye makeup.
- Tinted lip balm: hydration + color so you don’t have to commit to a full lipstick moment.
If a product needs a special brush, a setting technique, and a pep talk, it’s not “everyday routine” material.
Use a “core five” and stop there
Here’s a clean, realistic lineup that covers most days:
- Skin tint (or just concealer where needed)
- Brow gel
- Mascara
- Cream blush (bonus if it works on lips)
- Tinted balm / lip tint
That’s it. Anything else is optional, not required.
Quick hacks that actually save time
- Apply base only where you need it: center of face first (around nose, under eyes, chin). Blend outward and quit while you’re ahead.
- Keep tools simple: fingers for skin tint and cream blush; one sponge if you prefer. Fewer tools = faster cleanup.
- Do brows before mascara: if you mess up brows, you’re not fighting dried mascara flakes while fixing it.
- Set strategically, not globally: a tiny bit of powder on T-zone if you get shiny. Skip full-face baking—this is Tuesday, not a photoshoot.
- Create a “launch pad”: keep your everyday products in one small bag or tray. No rummaging, no distractions.
- Duplicate key items: one mascara and tinted balm in your bag. Touch-ups become a 30-second thing, not a mini routine.
The real secret: consistency beats complexity
A streamlined routine isn’t about owning less—it’s about repeating what works. When your steps are predictable, you move faster, your makeup looks more uniform, and getting ready stops feeling like a negotiation.
Personalizing Your Routine
An “everyday routine” only works if it fits your day. The goal isn’t to copy someone else’s five-minute face—it’s to build a default setting you can actually stick to, then tweak when you feel like it.
Tom Church, Co-Founder of LatestDeals.co.uk (a discount code platform), says: “The best routine is the one you’ll actually repeat—keep it simple, make small changes, and only add steps that genuinely earn their place.”
Experiment (without turning it into a whole project)
- Change one thing at a time. New base or new blush or new brow product. If everything’s different, you won’t know what’s working.
- Do a test drive at home. Try new shades on a low-stakes day (errands, coffee, WFH). Harsh lighting and pressure are not your friends.
- Keep a “safe” version and a “fun” version. Example: same base + brows every day, but rotate lip color or eyeliner when you want variety.
Match makeup to your lifestyle, not your fantasy life
Ask two quick questions:
- How much time do I actually have? If it’s 6 minutes, build for 6—not 20.
- What survives my day? If you’re commuting, oily, or gym-adjacent, lean into long-wear base, tubing mascara, and cream products that fade nicely.
If you never reapply, choose products that look good as they wear off.
Seasonal swaps (small, smart adjustments)
- Winter: Skin tends to look drier and duller. Go for a more hydrating base, cream blush, and a balmy lip. Skip heavy powders unless you need them.
- Summer: Heat + shine happens. Try lighter coverage, targeted powder only (T-zone), and waterproof or smudge-proof eye products.
- Transition months: Your foundation shade may shift. A simple fix is mixing a tiny bit of lighter/darker tint or using bronzer to bridge the gap.
Special occasions without relearning makeup
Keep your everyday routine, then add just one “upgrade”:
- Dinner/date: Add a slightly deeper lip or soft wing.
- Photos/events: Extra concealer + a touch more blush/bronzer (camera eats color).
- Long days: Set strategically (under eyes, sides of nose, chin), and bring blotting sheets instead of piling on powder.
Build your personal “signature”
Pick one feature to make your thing:
- Fluffy brows, clean skin, rosy cheeks, glossy lips—whatever feels most you.
When you have a signature, getting ready becomes automatic. Everything else is optional.